Hey mates, todays post is about the Solberg Jacket but can be applied to any kind of garment where you'd like a neater seam finish.
The Solberg calls for overlocking - but if you don't have the right colour to blend into your fabric, some bound seams are a bloody lovely alternative.

Here we go.
What you'll need:
The Solberg Jacket or any other garment you'd like to try this on.
Bias binding - I cut my strips of binding 2.5cm / 1 inch wide.
How to do the thing:
Follow the instructions that come with the pattern. When it comes to a section that says 'Overlock/finish your seam', you can use this technique instead.
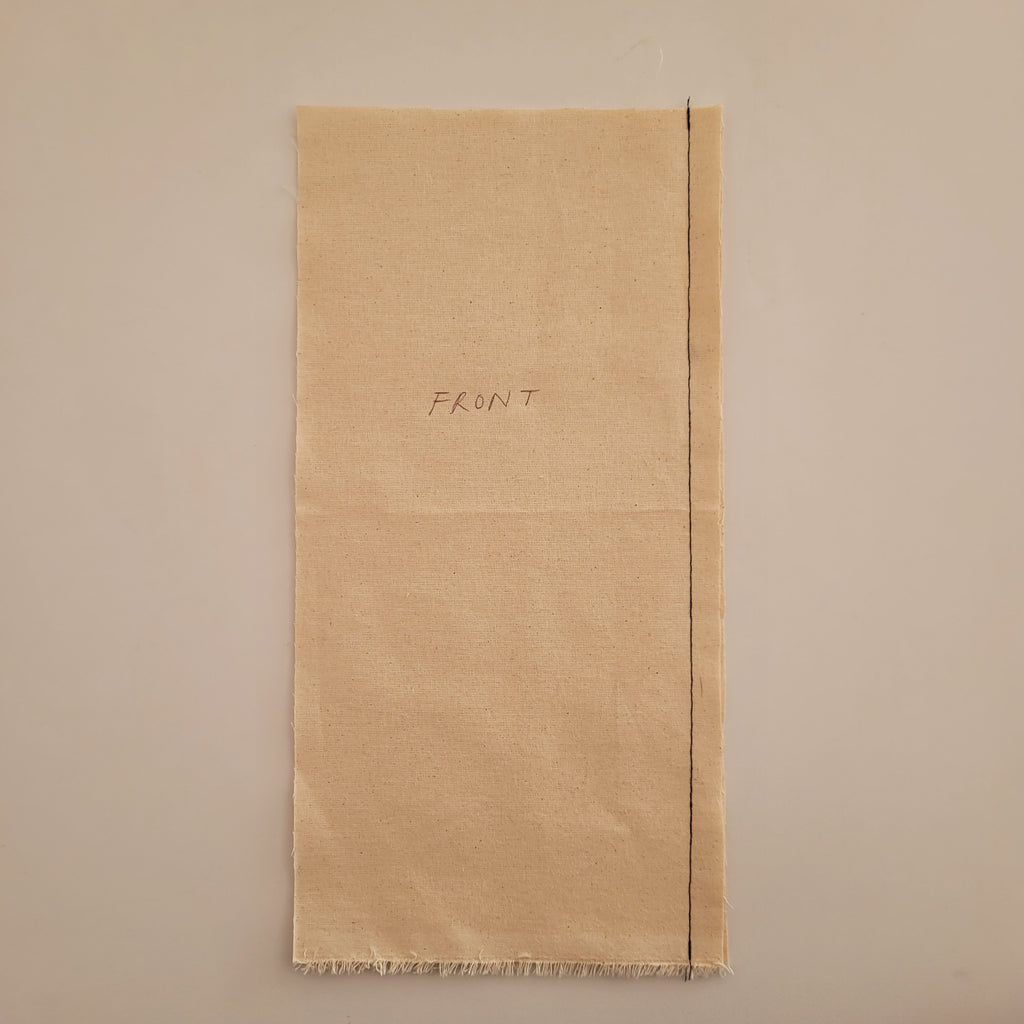
For this example, I've used some calico offcuts but labelled them as the front and back of the garment so you can see which side you'll be sewing your binding to.
Here I have sewn the front and back pieces together with a 1cm (3/8 inch) seam allowance.
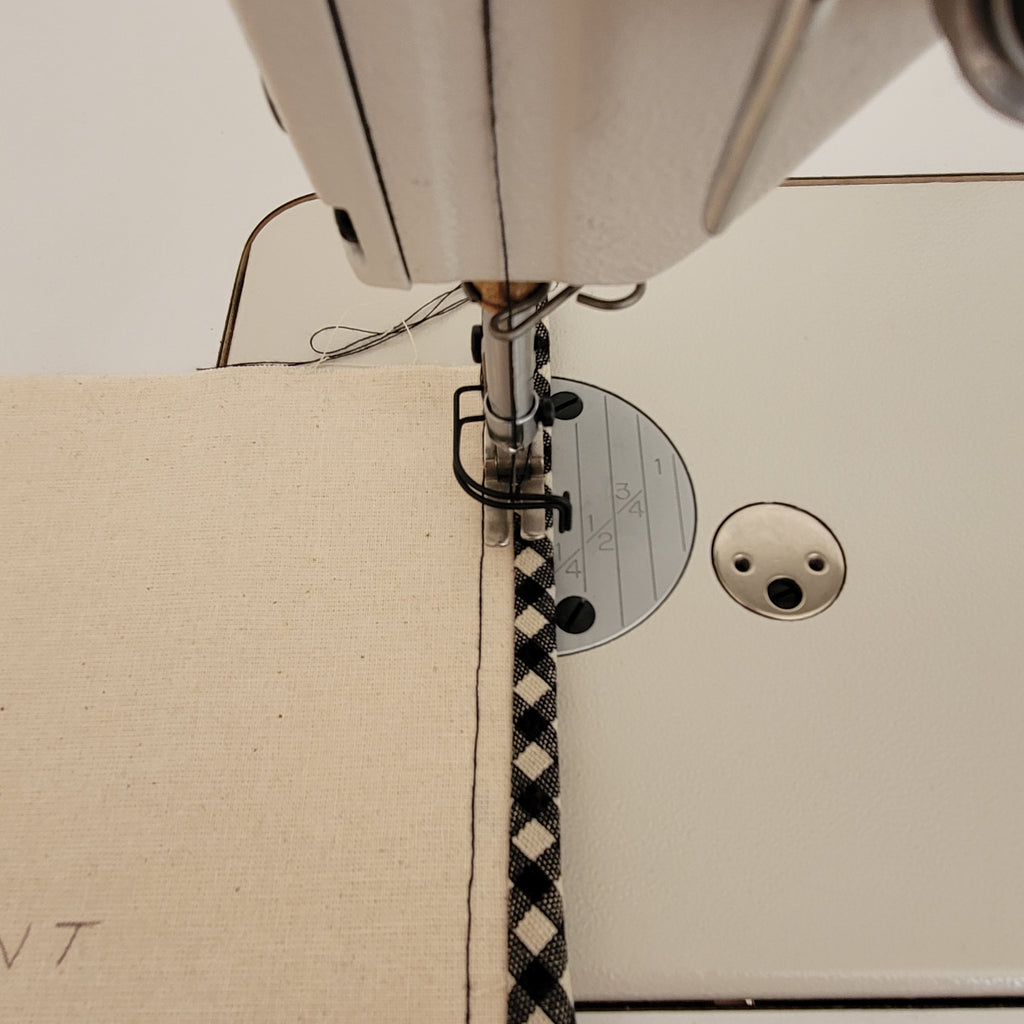
Place your binding, right side down, against the seam, so the raw edges are all lined up. Sew the binding to the fabric, using a 0.5cm seam allowance.

Press the binding away from the seam.

Wrap the binding around to the other side, covering the raw edge of the seam.

Stitch in the ditch to secure the binding in place.

The back edge of the binding has been left unfolded to reduce bulk. Some of the seams are topstitched in place (which will secure the binding further.)
Press the seam towards the back.

I have attached a video involving the process of binding the seam at the back of the jacket, which is at a right angle.
Hope this is helpful.
x Lauren