Hey mates. New to the layers option for PDF's?
The layers option allows you to print only the size/s you want - saving on ink and making it easier to see what lines you need to cut out.
Here's a quick guide on how to use them when printing off your sewing pattern.
First things first, if you've purchased a pattern and want a hand downloading it, here's a step by step guide: Using a Digital Sewing Pattern.
If you're printing from home, my recommended PDF reader is Adobe Acrobat. You can download it here.
Once you've downloaded and saved your files to your computer, open your pattern in Adobe Acrobat.
To the left of your screen, you'll notice a panel with some icons on it. Click the one that looks like sheets of paper stacked on top of each other.
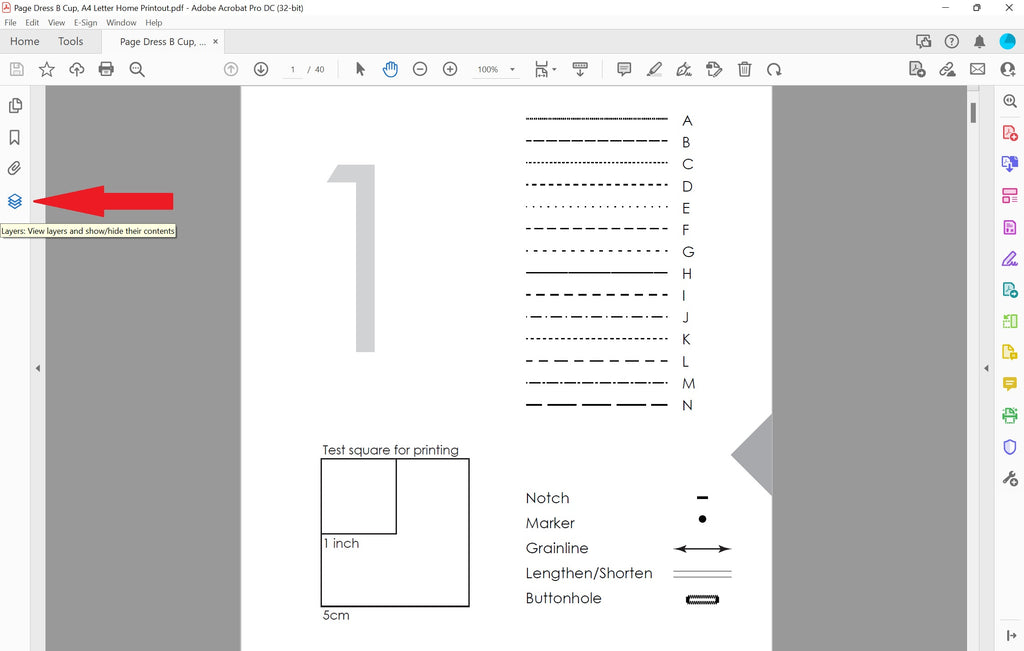
Clicking this will reveal the layers menu. You can switch the layers on and off by checking and unchecking the boxes.
I've unchecked every size except for size H in this example.
It's important to keep any layers on that mention Graphics and Borders as these contain the labels for the pattern pieces and the page numbers, borders and diamonds that help align the pattern sheets.
